Best Septic Tank Risers: Brands, Sizes, and Installation Guide
Best septic tank risers pay for themselves in one pumping cycle by eliminating the $200-400 excavation fee — yet 70% of homeowners don’t know they exist.
Key Takeaways:
- Risers eliminate excavation costs that average $275 per pumping visit nationwide
- Polylok and Tuf-Tite dominate 80% of the residential riser market with specific diameter advantages
- DIY installation takes 2-4 hours for most homeowners with basic tools and saves $400-600 in contractor fees
Are Septic Tank Risers Worth the Investment?

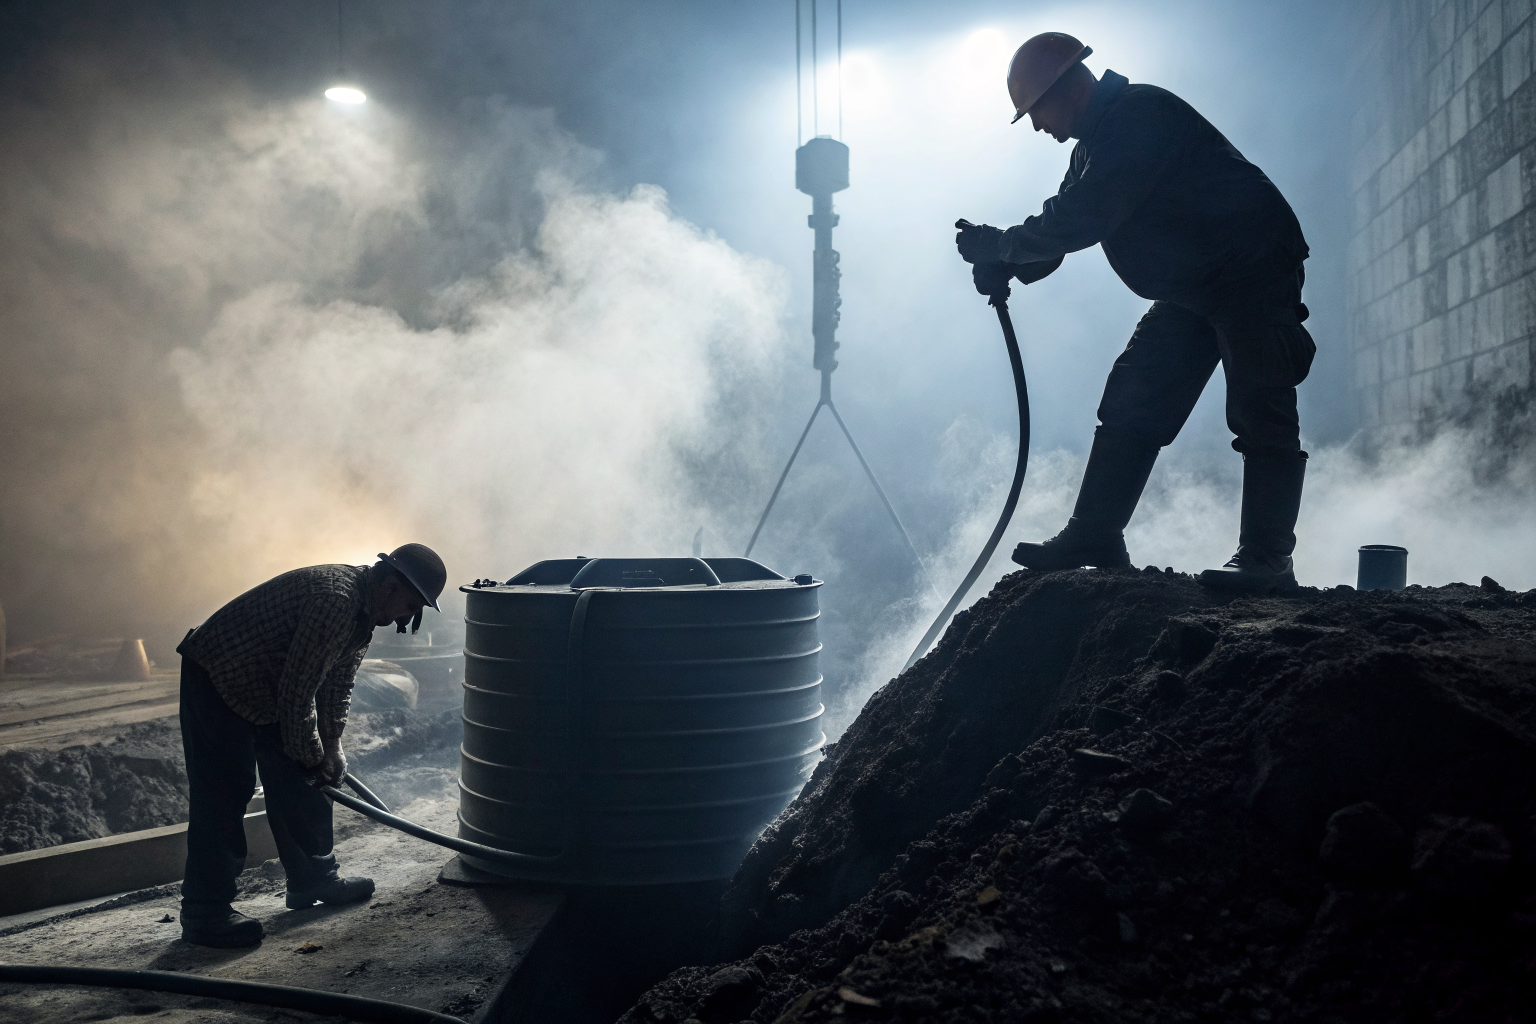
Septic tank risers are vertical extensions that bring buried tank access points to ground level. This means you never dig again for pumping, inspection, or maintenance access.
Septic tank risers eliminate excavation costs completely. The average excavation fee runs $275 per pumping visit nationwide. A riser system costs $180-320 upfront but pays for itself after the first pumping cycle.
Over 20 years with pumping every 3-5 years, you save $1,375-2,200 in excavation fees alone. The math gets better when you factor inspection access — no more $150-250 locate fees when selling your home or dealing with septic system problems.
Risers also prevent tank damage from repeated digging. Heavy equipment scrapes concrete tanks and cracks lids. One cracked lid replacement costs $200-400. Risers protect this investment.
Contractors push back on risers because they lose excavation revenue. Don’t let them talk you out of this upgrade. The ROI speaks for itself.
Polylok vs Tuf-Tite vs Concrete: Which Riser Material Lasts Longest?
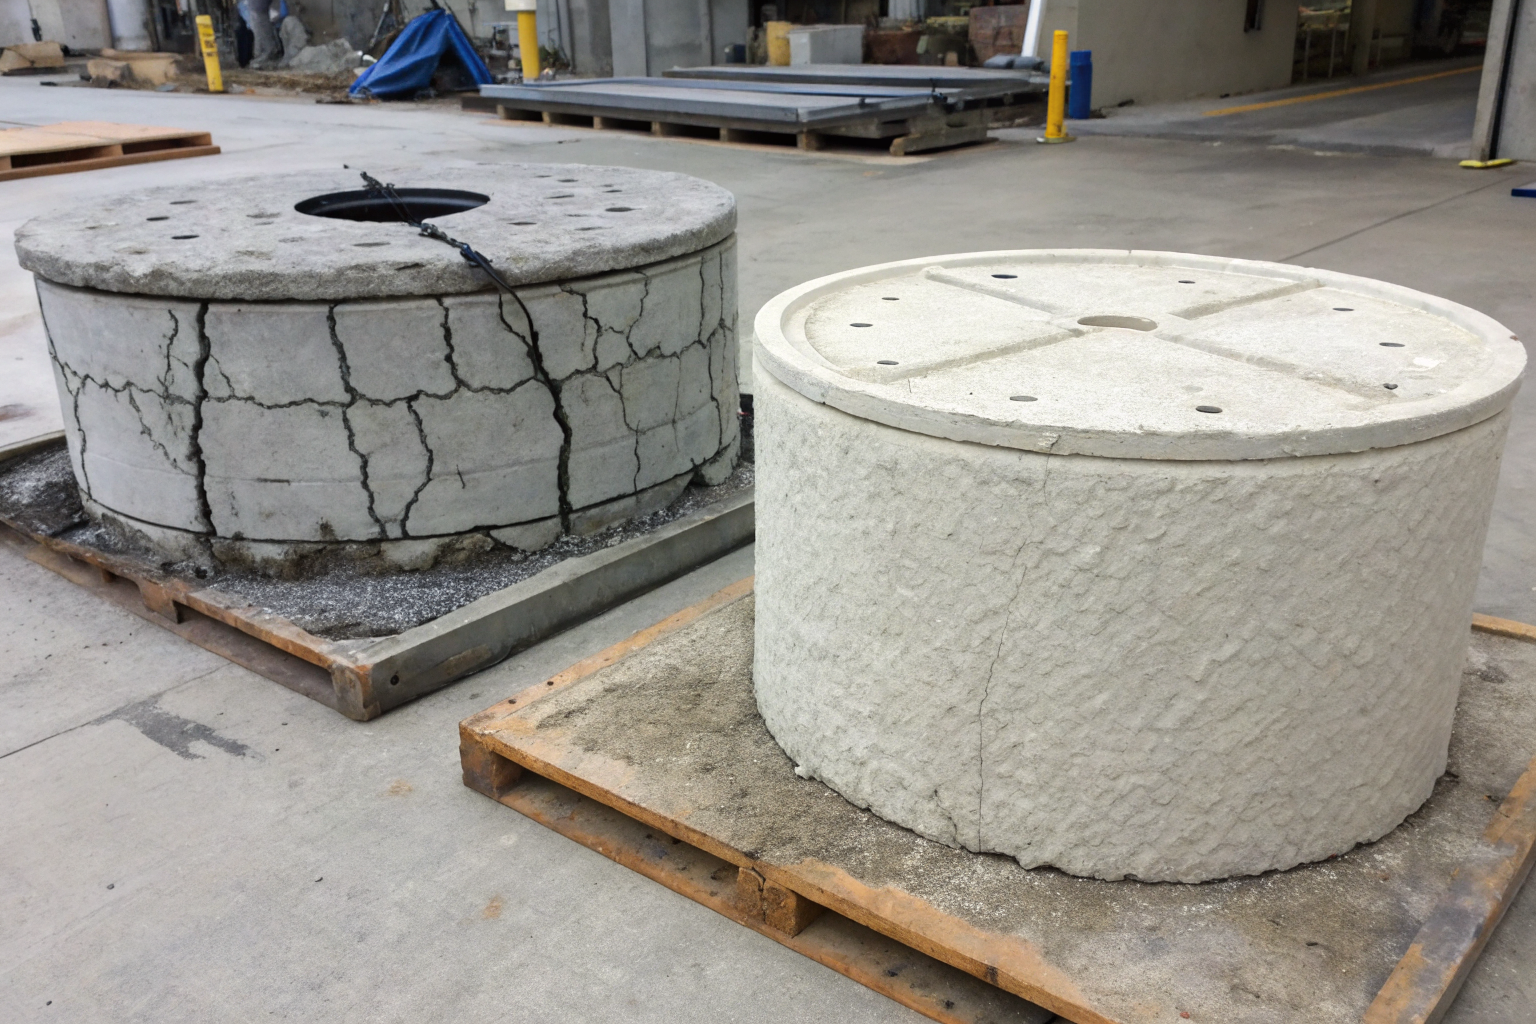
Plastic risers outperform concrete risers in every category except initial cost. The weight difference alone makes installation manageable for homeowners.
| Material | Weight per Section | Crack Resistance | UV Stability | Warranty | Price Range |
|---|---|---|---|---|---|
| Polylok | 8 lbs | Excellent | 20+ years | Lifetime | $45-65 |
| Tuf-Tite | 12 lbs | Excellent | 20+ years | 10 years | $50-70 |
| Concrete | 85 lbs | Poor | N/A | None | $35-50 |
Polylok wins on weight and warranty. Their polyethylene construction flexes instead of cracking. The lifetime warranty covers manufacturing defects and UV degradation.
Tuf-Tite offers thicker walls and better thread engagement. Their risers feel more solid during installation. However, the extra weight makes solo installation difficult.
Concrete risers crack within 5-10 years in freeze-thaw climates. They absorb water, then split when it freezes. Replacement means digging again — exactly what risers prevent.
Both Polylok and Tuf-Tite use the same lid systems and accessories. You can mix brands if needed. Stick with plastic for longevity and ease of installation.
What Diameter Riser Do You Need for Your Tank Type?

Tank diameter determines riser size requirements. Measure your existing tank opening before ordering components.
Standard concrete tanks use 24-inch openings. Fiberglass tanks typically use 20-inch openings. Here’s how to size correctly:
• Measure the inside diameter of your tank’s access port with a tape measure
• Add 1 inch to account for riser wall thickness and sealing compound
• Round up to the next standard size: 20-inch, 24-inch, or 30-inch
• Check for adapter rings if your measurement falls between standard sizes
Adapter requirements vary by tank age. Tanks built before 1990 often have non-standard openings. Polylok and Tuf-Tite make adapter rings for 18-inch, 21-inch, and 27-inch openings.
Retrofit limitations apply to very old tanks. Tanks with raised lips or integrated lids need custom solutions. These represent less than 5% of residential installations.
Don’t guess on diameter. Wrong sizing means return shipping costs and installation delays. Measure twice, order once.
Top 5 Septic Tank Riser Systems: Model Numbers and Specs

Polylok 3009 leads residential riser sales with proven durability and contractor acceptance.
| Model | Brand | Diameter | Height Options | Lid Type | Price Range |
|---|---|---|---|---|---|
| 3009-R24 | Polylok | 24-inch | 6″, 12″, 18″ | Ribbed green | $89-115 |
| 24RT | Tuf-Tite | 24-inch | 6″, 12″, 18″ | Safety green | $95-125 |
| 3008-R20 | Polylok | 20-inch | 6″, 12″, 18″ | Ribbed green | $75-95 |
| 20RT | Tuf-Tite | 20-inch | 6″, 12″, 18″ | Safety green | $85-105 |
| EZ-24 | Sim/Tech | 24-inch | 12″ only | Flat green | $65-85 |
Polylok 3009-R24 dominates contractor installations. The ribbed lid design prevents slipping and provides better grip for removal tools. Stack multiple sections for deeper tanks.
Tuf-Tite 24RT offers the strongest thread connection. Their “safety green” color meets most municipal requirements for visibility. The flat lid design works better with riding mowers.
Sim/Tech EZ-24 provides budget-friendly entry. However, the single height option limits flexibility. Only choose this for shallow installations under 18 inches deep.
All models include rubber gaskets and stainless steel hardware. Order extra gaskets — they’re cheap insurance against future leaks.
How to Install Septic Tank Risers: Step-by-Step DIY Process

DIY installation saves $400-600 contractor fees with basic tools and careful planning.
- Locate and excavate your septic tank access port to expose the existing lid completely.
- Remove the old concrete lid using a pry bar and have a helper assist with the weight.
- Clean the tank rim thoroughly, removing all old sealant and debris with a wire brush.
- Apply butyl rubber sealant around the tank rim in a continuous bead.
- Place the first riser section on the tank, pressing down firmly to compress the sealant.
- Add additional riser sections as needed, sealing each joint with provided gaskets.
- Install the final lid section, ensuring it sits level and flush with ground surface.
- Backfill around the riser carefully, compacting soil in 6-inch lifts to prevent settling.
Safety protocols matter. Tank gases can be deadly. Work with wind at your back and never lean over open tanks. Keep a helper nearby and work during daylight hours.
Sealing techniques prevent groundwater infiltration. Use only manufacturer-approved sealants. Petroleum-based products damage plastic risers over time.
Common mistakes include inadequate sealing, uneven backfill, and improper lid installation. Take time on each step. Rushed installation leads to expensive callbacks.
What Are the Hidden Costs of Riser Installation?

Hidden costs include permits and soil disposal fees beyond the riser system price.
Permit fees range $25-150 depending on local jurisdiction. Most areas require permits for any septic system modification. Call your health department before starting work. Unpermitted work complicates home sales.
Soil disposal adds $50-150 if you can’t reuse excavated material. Clay soil or contaminated dirt needs proper disposal. Factor this into your budget.
Adapter costs apply to non-standard tank openings. Adapters run $35-65 each and extend installation time. Older tanks often need custom solutions.
Lid upgrades improve functionality but add cost. Locking lids prevent tampering and cost $45-75 extra. Traffic-rated lids handle vehicle weight for $65-95 more.
Total project costs run $280-650 for DIY installation including permits and materials. Professional installation adds $400-800 labor. The investment still pays for itself within two pumping cycles.